How Long Does It Take to Get Dental Implants?
For All on 4 treatment, the short answer is: surgery day itself usually takes two to three hours, and you’ll walk out with a fixed set of temporary teeth the same day. But the whole process, from that first consultation appointment to your final, permanent teeth, typically spans three to six months. That gap is intention as it gives the implants time to properly fuse with your jawbone before the long-term teeth go on.
Here’s what that timeline actually looks like, stage by stage.
The Full Timeline
Stage | How long it takes |
Consultation and planning | Usually 2 appointments before surgery |
Surgery day | 2–3 hours for a single row of teeth (longer for both top and bottom) |
Temporary teeth | Fitted the same day, in most cases |
Healing (implant integration) | 3–6 months |
Final teeth fitted | Once healing is complete |
Before Surgery: Consultation and Planning
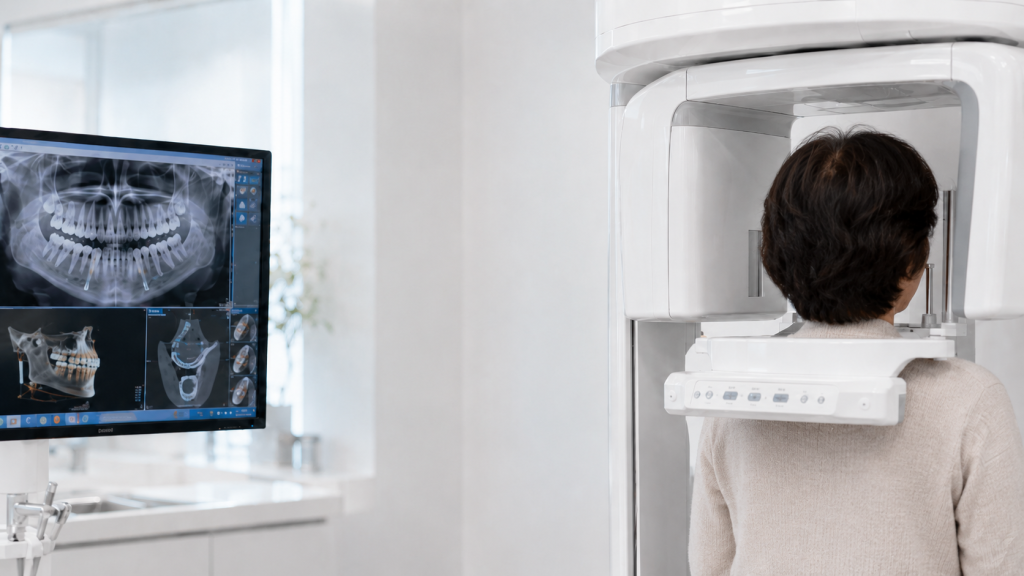
Before any surgery happens, your dentist needs a clear picture of your bone, bite, and any teeth that still need to come out. This usually means a consultation with imaging (like a 3D scan) and a bit of planning time behind the scenes to map out exactly where each implant will go. For most people this takes two appointments and sometimes more if your case needs extra planning, like assessing bone volume in detail.
Surgery Day: What Happens and How Long It Takes
Surgery for a single row of teeth commonly takes around 2 – 3 hours in the chair. How long yours takes depends on how many teeth need to be removed, the condition of your bone, and how complex your case is. Treating both upper and lower teeth in one visit can take up to 6 hours.
Here’s roughly what happens during that time:
Step 1 — Getting numb
The area is fully numbed first, so you shouldn’t feel pain during the procedure. Many people also choose sedation where you’re drowsy throughout. You and your dentist agree on this beforehand.
Step 2 — Removing any remaining teeth
Any broken-down or failing teeth are taken out first, along with infected tissue. Removing old teeth and placing implants in the same visit is a key part of how All on 4 works.
Step 3 — Placing the implants
The dentist prepares the bone and places the implants. Usually this involves two upright at the front of the jaw where the bone is strongest, and two angled toward the back.
Step 4 — Checking they’re solid
Each implant is tested for how firmly it’s gripping the bone. This matters because it decides whether you can get temporary teeth the same day. If the grip is strong, temporary teeth usually go ahead. If it’s not quite firm enough, your dentist may wait, which is why Kita Dental doesn’t promise same-day teeth for every case.
Step 5 — Attaching connectors and closing the gum
Small connector pieces (called abutments) are fitted onto each implant. These are what your teeth will attach to. The gum is then repositioned and stitched to support healing.
Step 6 — Fitting your temporary teeth
A quick scan or mould of your bite is taken so your temporary teeth can be made to fit accurately, often while you’re still in the chair. In most cases, a fixed set is secured before you leave, and your dentist checks and adjusts your bite so everything feels even. These are temporary, not your final teeth, which come later once healing is complete.
Healing: Why the Wait Between Temporary and Final Teeth
This is the part that takes the most time, and it’s also the most important. Once the implants are placed, they need time to properly integrate with the jawbone before they can safely carry your final, permanent teeth. That healing period is typically 3 to 6 months.
During this time, you’re not without teeth, your temporary set lets you eat, smile, and go about daily life while healing happens underneath. It’s just not built for the long haul, so a soft diet is generally recommended while the implants settle in.
Final Teeth: The Last Step
Once healing is complete, your final teeth are made and fitted. This is your permanent, long-term prosthesis, and it’s checked and adjusted so everything sits and functions properly before you leave.
Written by Dr Kent Boon
5 September 2026
All on X treatments at Kita Dental are led by Dr Kent, Principal Dentist and Implantologist, who holds a Master of Oral Implantology. Kita Dental is a dental clinic located in Mascot, NSW, with a strong focus on dental implants.
This article is general information only and is not a substitute for personalised advice from a registered dental practitioner. Outcomes vary from patient to patient.